油管上刷视频的时候刷到了这个视频,打算对视频中的源码以及实现思路做个汇总。
Youtube源:
VIDEO
Bilibili源:
GitHub源码:
No description, website, or topics provided.
HTML | CSS | JS
Flex 布局
Grid 布局
JavaScript 基础
PC端
手机端
首先导入需要的字体与图标动画库
1
2
3
4
5
6
7
8
<!-- AnimeJS v3.2.0 用于在手机端实现拖拽的动画效果-->
< script src = "https://cdnjs.cloudflare.com/ajax/libs/animejs/3.2.0/anime.min.js" type = "text/javascript" ></ script >
<!-- Open Sans Font 导入需要的字体 -->
< link href = "https://fonts.googleapis.com/css2?family=Open+Sans:wght@500;600;700;800&display=swap" rel = "stylesheet" >
<!-- BoxIcons v2.1.2 导入需要的图标包 -->
< link href = "https://unpkg.com/boxicons@2.1.2/css/boxicons.min.css" rel = "stylesheet" >
现在我们需要做的就是准备基本的html结构
 1
 2
 3
 4
 5
 6
 7
 8
 9
10
11
12
13
14
15
16
17
18
19
20
21
22
23
24
25
26
27
28
29
30
31
<!-- 最外层的盒子,里面放着所有的列表项 -->
< div class = "list" >
<!-- 列表中的item -->
< div class = "list-item" >
<!-- 左侧的设置按钮 -->
< button class = "settings" >
< div class = "list-icon" >
< i class = "bx bxs-share" ></ i >
</ div >
</ button >
<!-- 中间的列表项的主体内容 -->
< div class = "list-content" >
<!-- 头像 -->
< div class = "profile" >
< img src = "images/01.png" alt = "" >
</ div >
<!-- 人物简介 -->
< div class = "caption" >
< h3 > Chirs Evans</ h3 >
< p > Captain American</ p >
</ div >
</ div >
<!-- 右侧的删除按钮 -->
< button class = "delete" >
< div class = "list-icon" >
< i class = "bx bxs-trash" ></ i >
</ div >
</ button >
</ div >
</ div >
接下来需要准备对应的CSS,首先需要让最外层的list盒子居中,并给list盒子对应的宽度。
 1
 2
 3
 4
 5
 6
 7
 8
 9
10
11
12
13
14
15
16
17
18
19
20
21
22
23
24
* {
margin : 0 ;
padding : 0 ;
border : 0 ;
outline : 0 ;
box-sizing : border-box ;
/* 导入对应的字体 */
font-family : 'Open Sans' , sans-serif ;
}
/* 使用flex布局让窗口中的元素水平竖直居中 */
body {
height : 100 vh ;
display : flex ;
align-items : center ;
justify-content : center ;
background : #f2f6f9 ;
overflow : hidden ;
}
. list {
/* 指定list的宽为480px */
width : 480 px ;
}
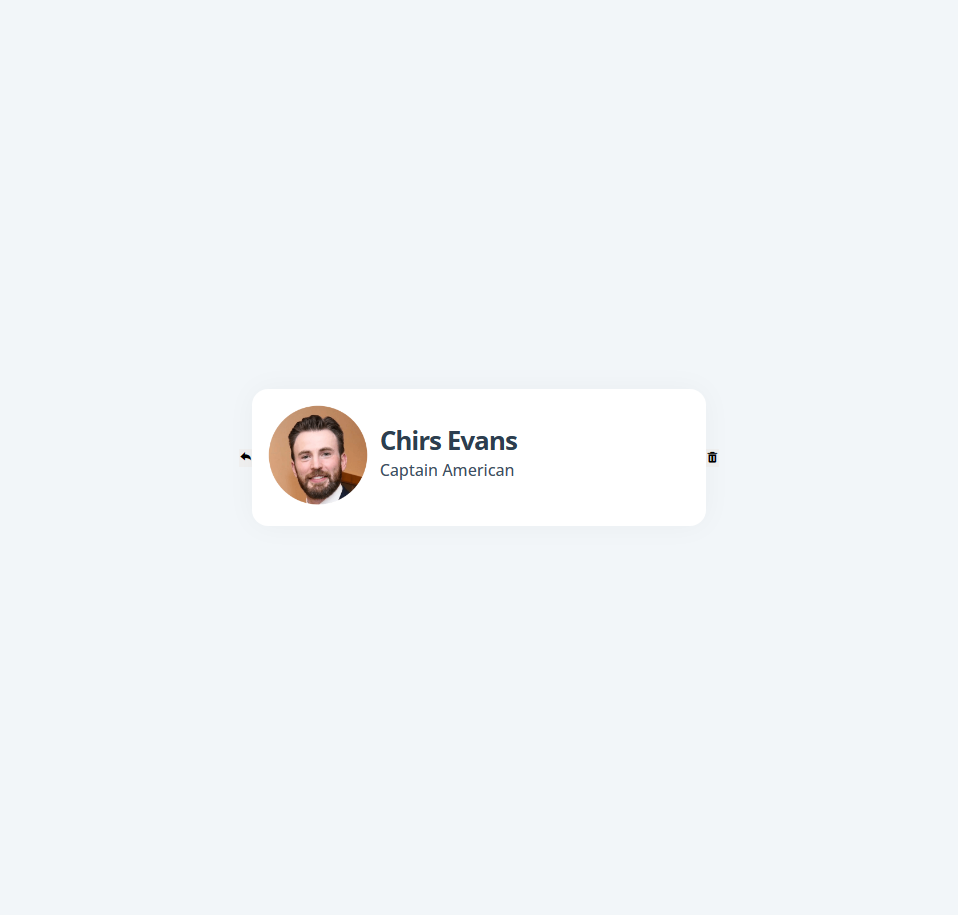
效果图:
然后对列表中的项目(list-item)的主体内容(list-content)做具体的修改
 1
 2
 3
 4
 5
 6
 7
 8
 9
10
11
12
13
14
15
16
17
18
19
20
21
22
23
24
25
26
27
28
29
30
31
32
33
34
35
36
37
38
39
40
41
42
43
44
45
46
47
48
49
50
51
52
53
54
55
56
57
58
59
60
61
/* 使用flex布局,让列表项中的所有内容水平排列并实现水平竖直居中 */
. list . list-item {
margin : 30 px 0 ;
position : relative ;
/* flex 默认的排列方向为 row (行) */
display : flex ;
align-items : center ;
justify-content : center ;
}
/* 使用flex布局,让列表项中的主体内容部分水平排列并实现水平竖直居中 */
. list . list-content {
display : flex ;
width : 100 % ;
z-index : 1 ;
padding : 16 px ;
/* 给与对应的背景色、圆角与阴影 */
background : #fff ;
border-radius : 16 px ;
box-shadow : 0 0 30 px rgba ( 0 , 0 , 0 , .04 );
}
/* 设置头像的宽度,并使用pointer-events阻止默认事件 */
. list . list-content . profile {
width : 25 % ;
pointer-events : none ;
}
/* 设置头像的具体宽度 */
. list . list-content img {
width : 100 px ;
height : 100 px ;
}
/* 设置人物简介的宽度,并使用pointer-events阻止默认事件 */
. list . list-content . caption {
width : 75 % ;
padding-left : 6 px ;
/* 使用grid布局,实现竖直居中 */
display : grid ;
align-items : center ;
/* justify-content: flex-start; */
justify-content : start ;
pointer-events : none ;
}
/* 指定人物简介中姓名的具体样式 */
. list . list-content h3 {
color : #2c3e50 ;
font-size : 26 px ;
font-weight : 700 ;
letter-spacing : -1 px ;
}
/* 指定人物简介中角色名的具体样式 */
. list . list-content p {
color : #3c5165 ;
font-size : 16 px ;
font-weight : 500 ;
margin-top : -45 px ;
}
效果图:
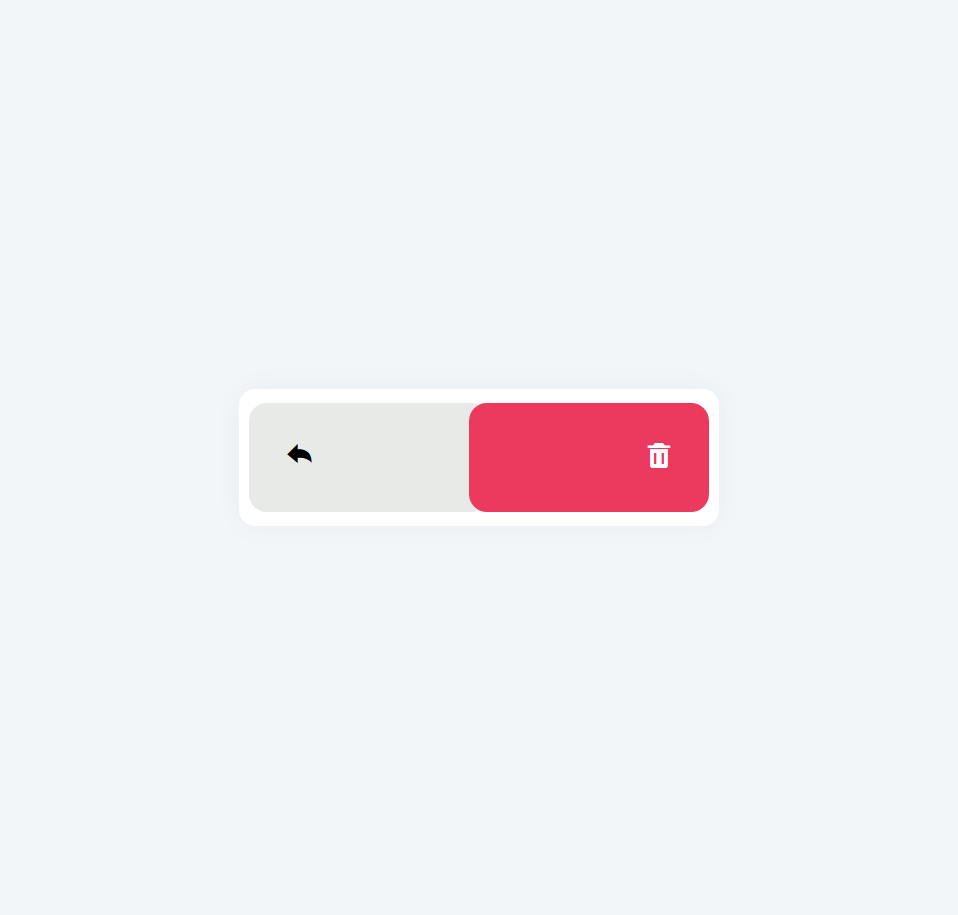
下面来针对左右两边的按钮写对应的css,首先需要用绝对定位将两个按钮收入主体内容(list-content)的内部,如下:
 1
 2
 3
 4
 5
 6
 7
 8
 9
10
11
12
13
14
15
16
17
. list button {
cursor : pointer ;
/* 使用绝对定位,将按钮收入主体内容的内部 */
position : absolute ;
width : 50 % ;
height : 80 % ;
display : flex ;
align-items : center ;
justify-content : flex-start ;
border-radius : 18 px ;
}
/* 指定下按钮内部的图标的大小 */
. list button . list-icon {
width : 100 px ;
font-size : 30 px ;
}
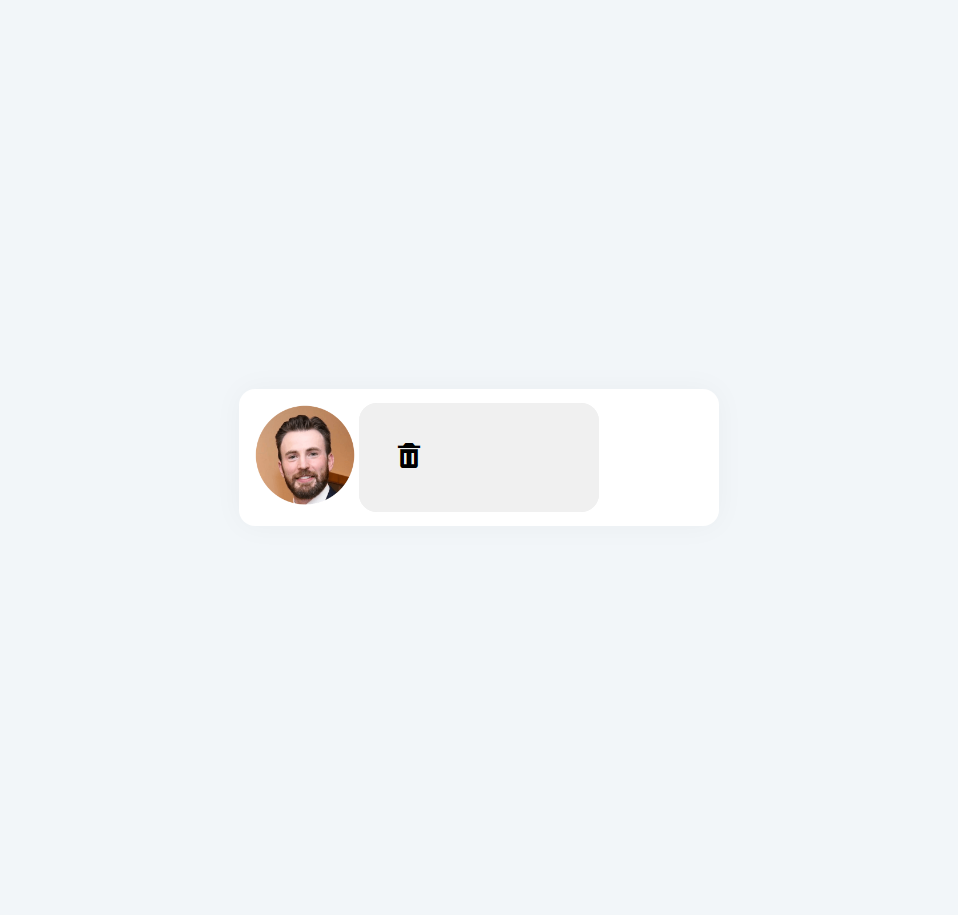
修改下主体内容(list-content)的z-index为-1可以看到现在两个按钮已经进入主体内容(list-content)的内部了:
1
2
3
. list . list-content {
z-index : -1 ;
}
下面来具体写下设置按钮与删除按钮对应的样式如下:
 1
 2
 3
 4
 5
 6
 7
 8
 9
10
11
12
13
14
15
/* 指定设置按钮的具体样式,使用justify-content:flex-start使其向左对其 */
. list . settings {
left : 10 px ;
color : #010101 ;
background : #e7eae7 ;
justify-content : flex-start ;
}
/* 指定伤处按钮的具体样式,使用justify-content:flex-end使其向右对其 */
. list . delete {
right : 10 px ;
color : #fff ;
background : #ec395e ;
justify-content : flex-end ;
}
效果如下图:
到这里为止就完成了页面基本结构的构建。
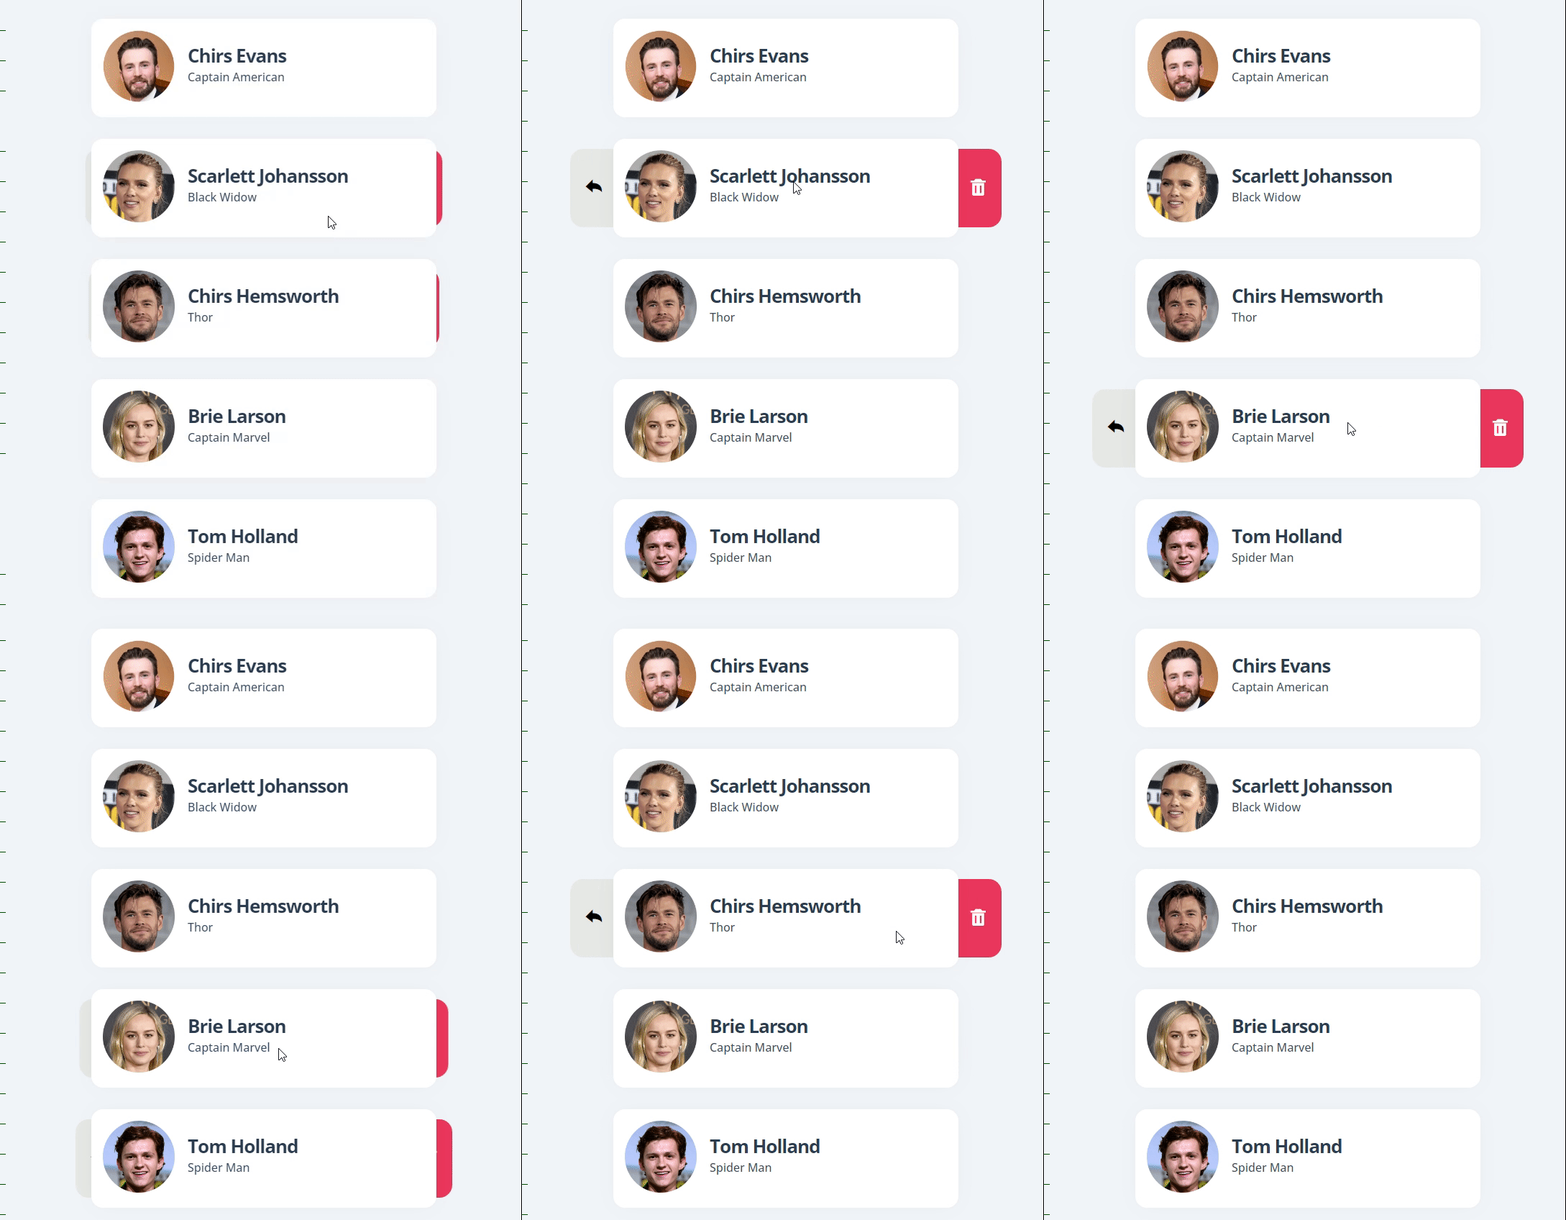
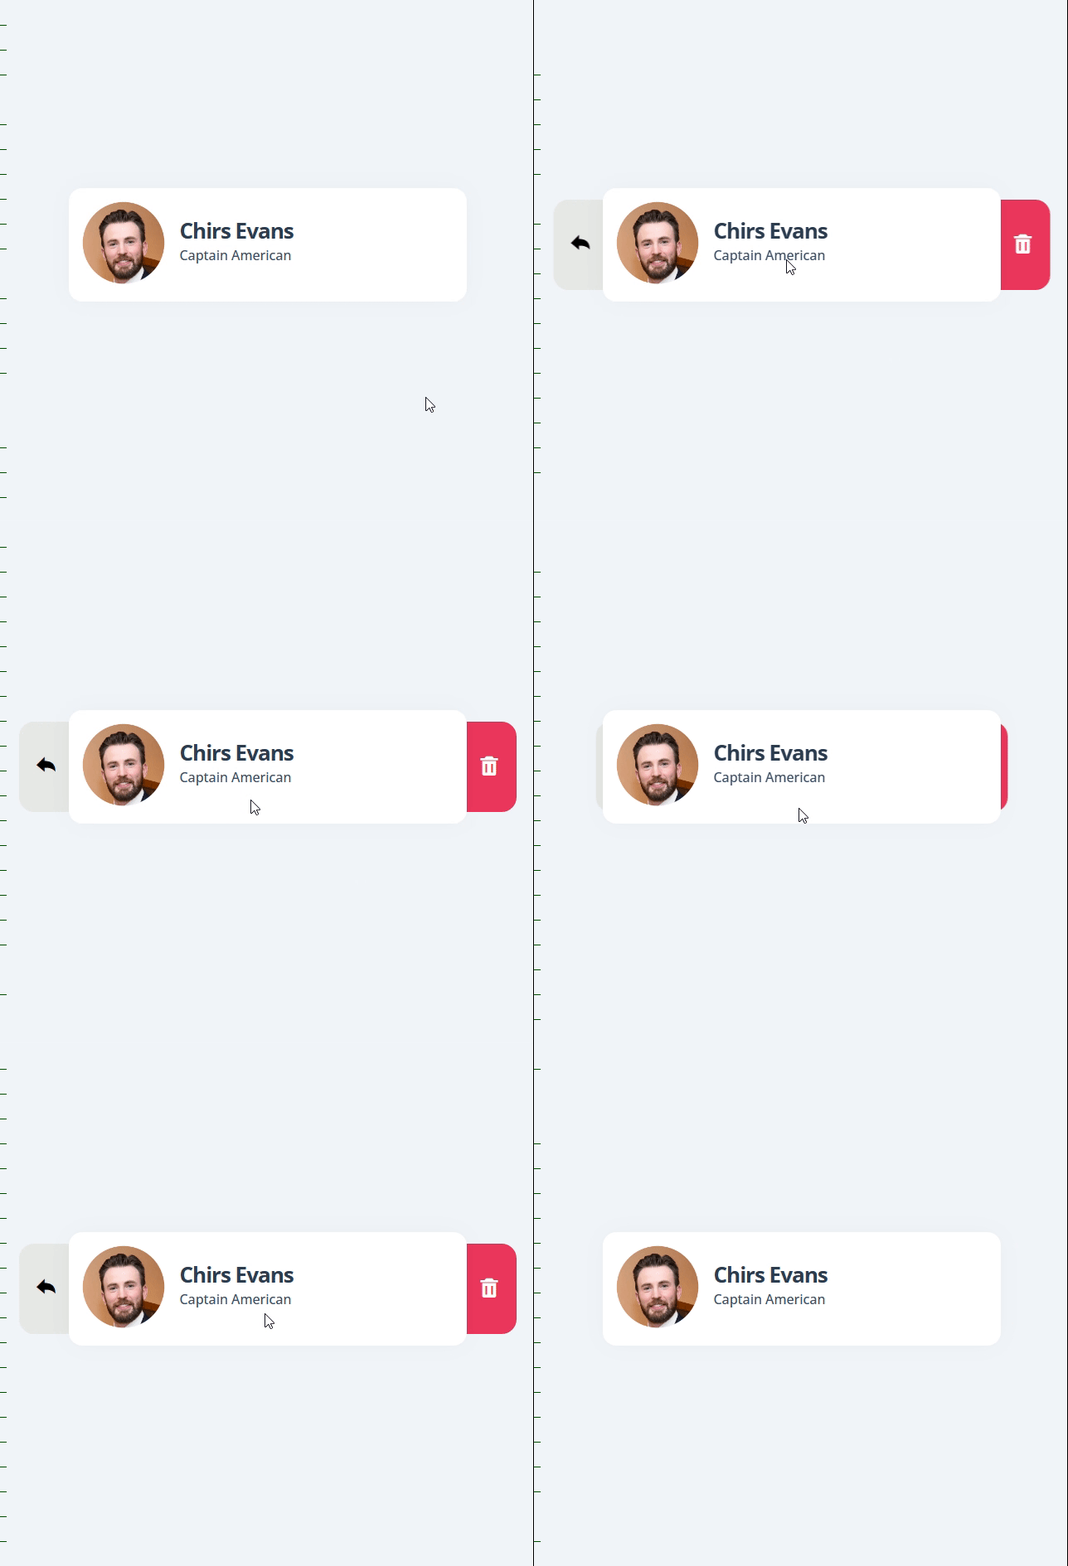
需要实现的效果为:
鼠标移动到盒子上
下方的两个按钮从左右两侧分别弹出
对应的思路:
当鼠标移动到盒子上的时候:
使用hover伪类选择器触发对应的效果
下方的两个按钮从左右两侧分别弹出:
使用transform属性分别将左右两边的按钮通过translateX函数向左或者向右移动,再使用transition属性给其加上动画的过度效果即可。
对应的代码与效果图如下:
 1
 2
 3
 4
 5
 6
 7
 8
 9
10
11
12
13
14
15
16
17
18
19
20
21
22
23
24
25
26
27
28
29
. list button {
cursor : pointer ;
/* 使用绝对定位,将按钮收入主体内容的内部 */
position : absolute ;
width : 50 % ;
height : 80 % ;
display : flex ;
align-items : center ;
justify-content : flex-start ;
border-radius : 18 px ;
/* 给按钮加上对应的过度动画 */
transition : .2 s ease-out ;
}
/* 768以上表示非手机端时候触发 */
@ media ( min-width : 768px ) {
. list button . list-icon {
width : 65 px ;
font-size : 28 px ;
}
/* 鼠标移动到列表项的时候触发 */
. list . list-item : hover . settings {
transform : translateX ( -70 px );
}
. list . list-item : hover . delete {
transform : translateX ( 70 px );
}
}
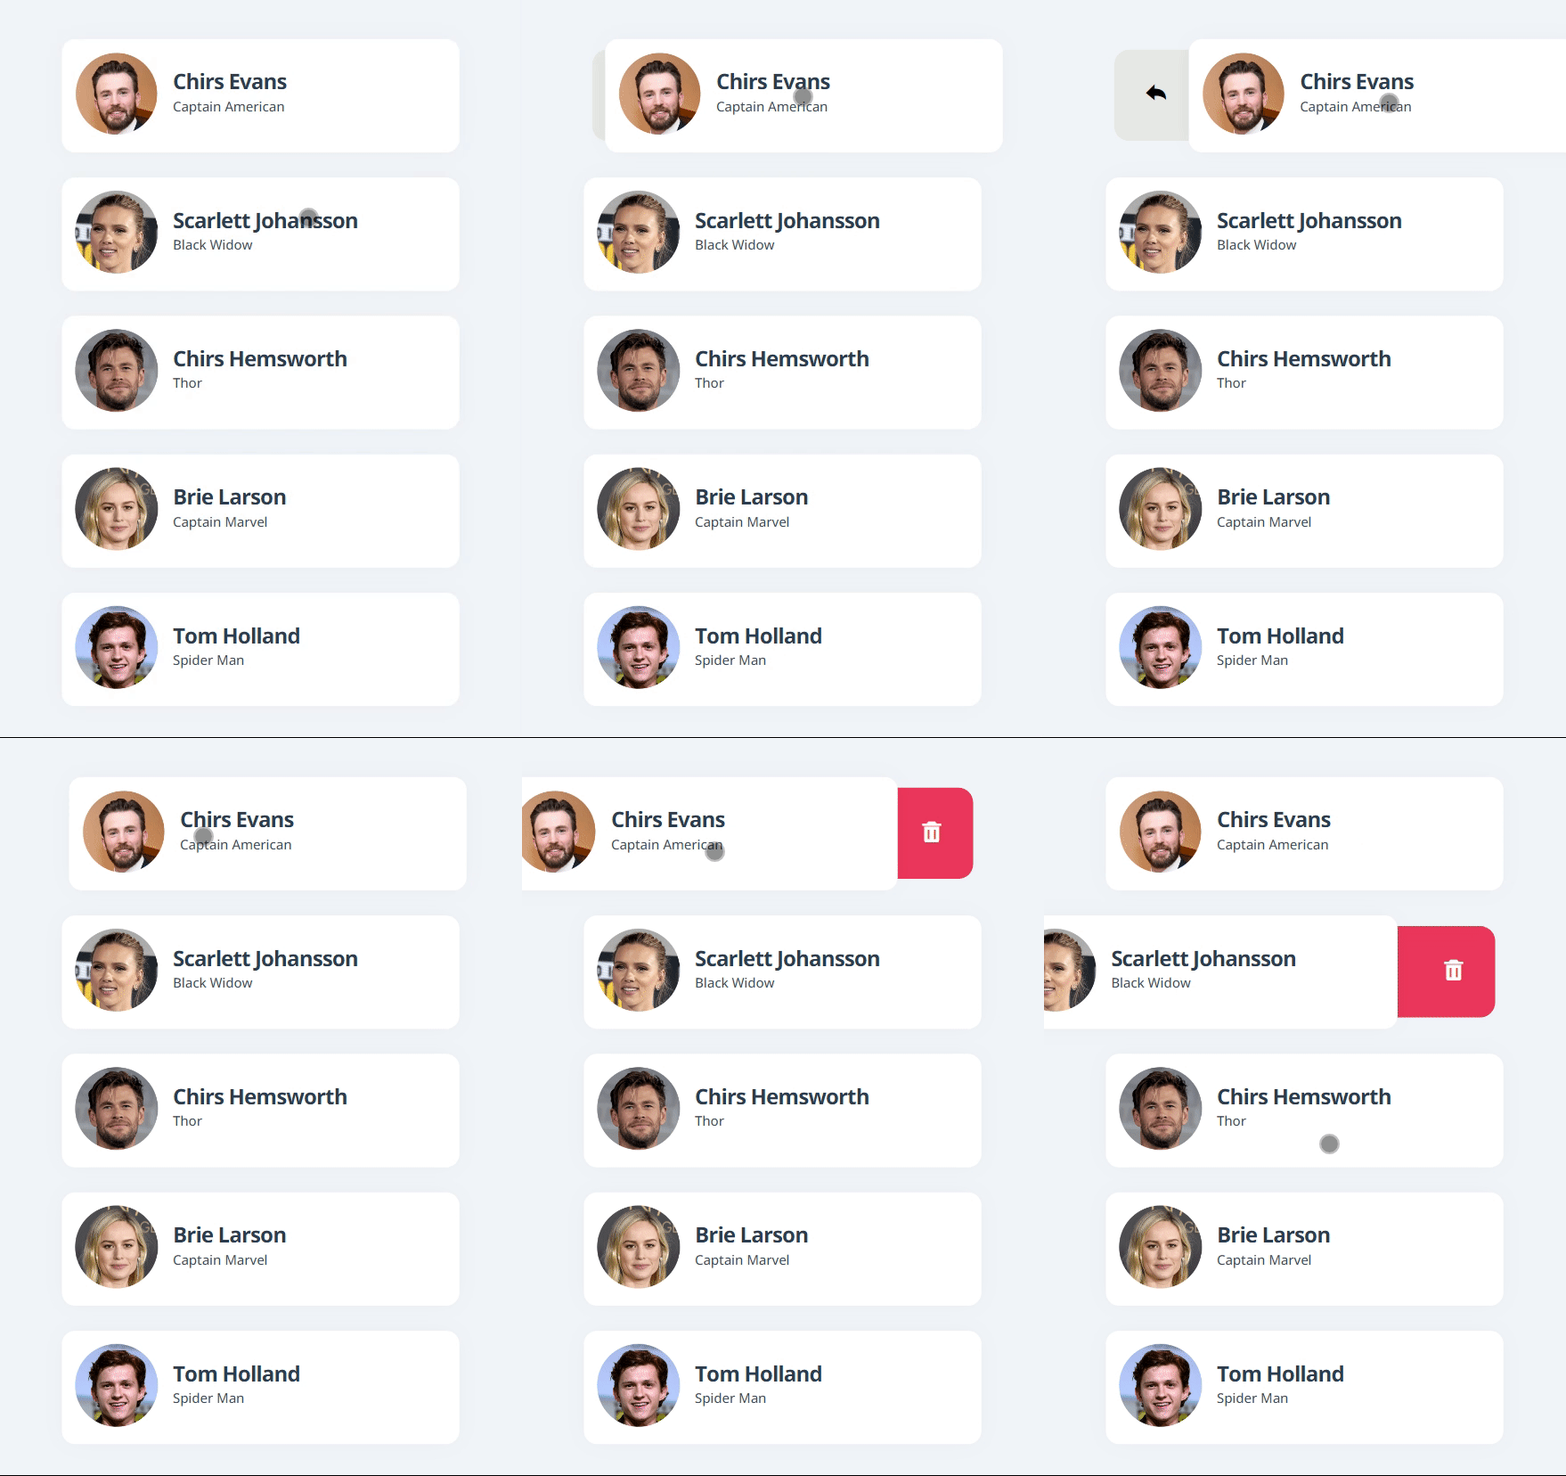
需要实现的效果:
点击并按住列表项(list-item)
将列表项(list-item)往左或者往右拖动
松开后列表项(list-item)会有回弹的效果
一次只能有一个列表项(list-item)被拖动,如果有其他列表项(list-item)被拖动则自动归位
对应的实现代码如下:
 1
 2
 3
 4
 5
 6
 7
 8
 9
10
11
12
13
14
15
16
17
18
19
20
21
22
23
24
25
26
27
28
29
30
31
32
33
34
35
36
37
38
39
40
41
42
43
44
45
46
47
48
49
50
51
52
53
54
55
56
57
58
59
60
61
62
63
64
65
66
67
68
69
70
// 选择所有 列表项
const items = document . querySelectorAll ( '.list-item' );
// 给所有 列表项 添加对应的事件
items . forEach ( item => {
item . addEventListener ( 'touchstart' , e => {
// dataset.x 为自定义属性,记录点击开始时候的横坐标
e . target . dataset . x = Number ( e . touches [ 0 ]. pageX ) + Number ( e . target . dataset . move ) || 0 ;
});
item . addEventListener ( 'touchmove' , e => {
// 点击开始时的横坐标减去点击移动到的横坐标
let moveX = Number ( e . target . dataset . x ) - e . touches [ 0 ]. pageX ;
// 向左移动
moveX > 130 ? moveX = 130 : null ;
// 向右移动
moveX < - 130 ? moveX = - 130 : null ;
// 计算出需要向左还是向右偏移
e . target . dataset . move = moveX ;
// 通过anime.js执行动画
anime ({
targets : e . target ,
translateX : - Number ( e . target . dataset . move ),
duration : 300
});
})
item . addEventListener ( 'touchend' , e =>{
// 实现回弹的效果
// 获取当前向左还是向右偏移
let elementMove = e . target . dataset . move ;
// 向左偏移,修改偏移量为100
if ( elementMove > 100 ) {
elementMove = 100 ;
// 向右偏移,修改偏移量为-100
} else if ( elementMove < - 100 ){
elementMove = - 100 ;
// 向中间偏移,修改偏移量为0
} else {
elementMove = 0 ;
}
// 保证一次只能有一个被拖动,如果有其他item被拖动则自动归位
items . forEach ( item => {
let content = item . querySelector ( '.list-content' );
if ( content === e . target ) {
return null ;
}
content . dataset . x = 0 ;
content . dataset . move = 0 ;
anime ({
targets : content ,
translateX : 0 ,
});
});
setTimeout (() => {
console . log ( '触发回弹' );
anime ({
targets : e . target ,
translateX : - Number ( elementMove ),
}, 1 );
});
});
});
最后就是一开始看到的实现效果了!
